

Hey There! What’s up!

So Web3 has been in total hype these days, and a lot of developers have been trying out web3 lately, including me.
And, Authentication is one of the most skeptical parts of a Full Stack application! And in Web 3.0, this flow is managed by wallets, and Metamask is the most popular among them.
So, in this article, I’m going to show how you can integrate Metamask auth with ThirdWeb in NextJS!
Demo of what we are building today:
Installing a new NextJS app
First, create a NextJS app. I’m also using Tailwind CSS as my UI preference. You can use anything that you like.
npx create-next-app -e with-tailwindcss metamask-auth
Clear up the boilerplate
Now, clear up the boilerplate in the index.js file.
export default function Home() {
  return <div></div>;
}
Installing the dependencies
Now, we will install the only required dependency for this app, @3rdweb/hooks. Go ahead and install @3rdweb/hooks in your project directory.
# for npm
npm i @3rdweb/hooks

# for yarn
yarn add @3rdweb/hooks
Setting up the Third Web Provider
Now, we are going to set up the ThirdwebWeb3Provider in our _app.js file:
import "../styles/globals.css";
import { ThirdwebWeb3Provider } from "@3rdweb/hooks";

import "regenerator-runtime/runtime";

function MyApp({ Component, pageProps }) {
  const supportedChainIds = [80001, 4];

  const connectors = {
    injected: {},
  };

  return (
    <ThirdwebWeb3Provider
      supportedChainIds={supportedChainIds}
      connectors={connectors}
    >
      <Component {...pageProps} />
    </ThirdwebWeb3Provider>
  );
}

export default MyApp;
Here, first, we are going to import the provider and regenerator-runtime/runtime at the top of the script.
import { ThirdwebWeb3Provider } from "@3rdweb/hooks";

import "regenerator-runtime/runtime";
Next, in the main function, we are specifying the supportedChainIds and connectors. You might be wondering what are these.
supportedChainIds contains a list of networks that are supported by our app. Here, 80001 is for Mumbai Testnet Network and 4 is for Rinkeby Testnet Network.
connectors is basically all the wallet providers we want to support. Here, injected is for Metamask wallet. This will be used when we are actually making the function to connect wallet.
Next, we are wrapping our whole app in ThirdwebWeb3Provider with supportedChainIds and connectors props to specify the configuration.
That’s it for the _app.js file.
Making a UI in the index.js file
Now, let’s first make a UI for the login flow.
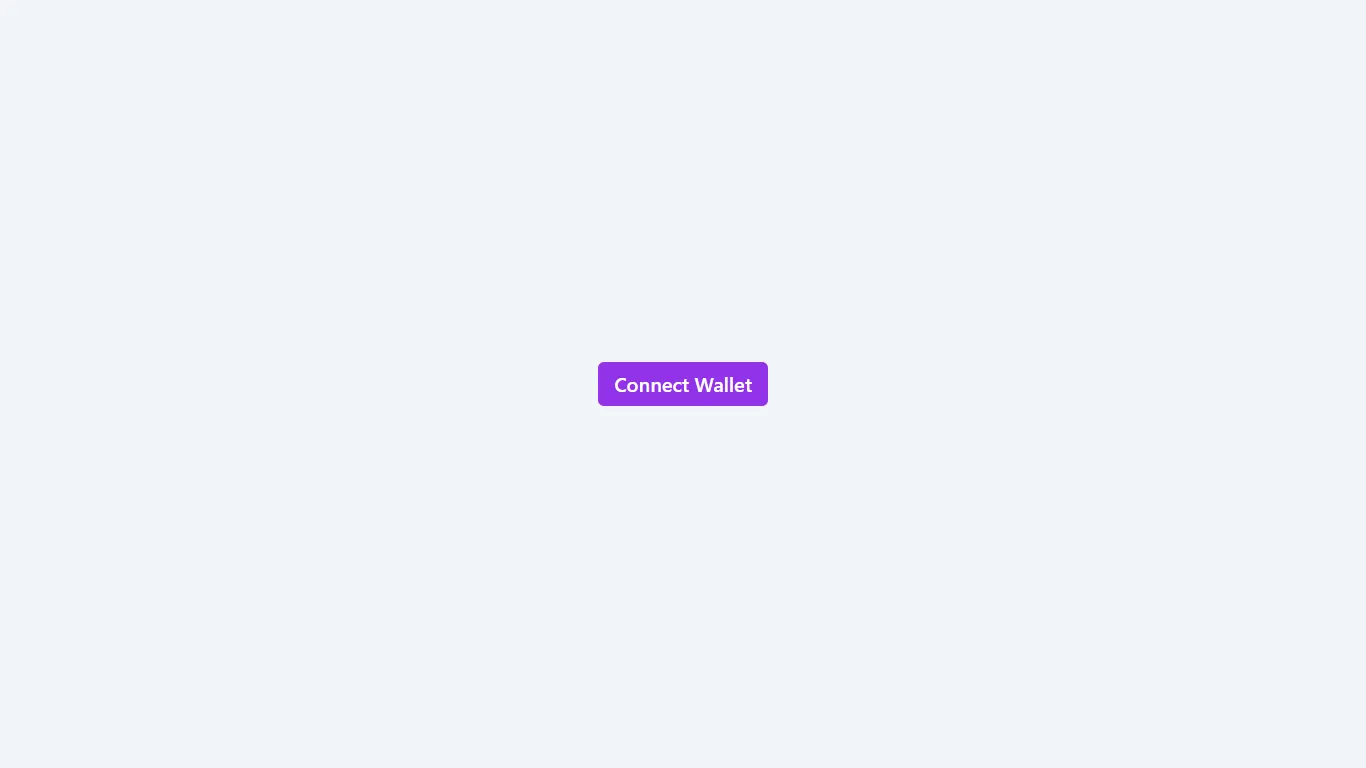
Head over to index.js file and make a simple button to connect wallet.
export default function Home() {

  return (
    <div className="flex flex-col items-center justify-center min-h-screen py-2 bg-slate-100">
        <button
          className="px-4 py-2 rounded-md bg-purple-600 cursor-pointer hover:bg-purple-500 text-xl font-semibold duration-100 text-white"
        >
          Connect Wallet
        </button>
    </div>
  );
}
At this point, you will have a basic UI like this:
Building the connect wallet functionality
Now, let’s build the connect wallet functionality.
First, we will import the useWeb3 hook from @3rdweb/hooks in our index.js file:
import { useWeb3 } from "@3rdweb/hooks"
Now, inside the Home component:
const { connectWallet, address, error } = useWeb3();
Now, we are going to assign the connectWallet to the connect wallet button:
<button className="px-4 py-2 rounded-md bg-purple-600 cursor-pointer hover:bg-purple-500 text-xl font-semibold duration-100 text-white"
onClick={()=>connectWallet("injected")}
>
      Connect Wallet
</button>
Here, we are passing injected as a param to the connectWallet function. If you remember from the above steps, this is used to specify that we are going to use Metamask to authenticate user.
Now, at this point, you will have a working connect wallet button.
Displaying user address:
Now, in the Home component, we are going to check if the user is authenticated and then render component based on that:
return (
  <div className="flex flex-col items-center justify-center min-h-screen py-2 bg-slate-100">
    {address ? (
      <p className="px-2 py-1 rounded-full bg-gray-200 hover:bg-gray-300 font-mono font-medium cursor-pointer duration-100">
        {address}
      </p>
    ) : (
      <button
        className="px-4 py-2 rounded-md bg-purple-600 cursor-pointer hover:bg-purple-500 text-xl font-semibold duration-100 text-white"
        onClick={()=>connectWallet("injected")}
      >
        Connect Wallet
      </button>
    )}
  </div>
);
Error handling:
Sometimes, the app may not work cause of errors, so in that case, we can use the error object and log its value.
Below our useWeb3 hook:
const { connectWallet, address, error } = useWeb3();

error ? console.log(error) : null;
That’s it! We have done it!