Hi everyone! This is the beginning of my new series on Android Development!
In this series, we will be going through various aspects of Android Programming and App Development from the basics to some advanced level topics.
But in this article, we will just get an overview of Android and some motivation on why and how to start with it.
Then we will start by installing Android Studio, the Official IDE for making Android Apps, by Google. At last, I will sum up the post and provide some further reading materials so that you can get started with it.
What’s Android?
Android is an open-source mobile Operating System owned by Google. It is one of the most popular OS out there! Each day many new people start with an endeavor to make something great with the Android Platform.
Also, since it is based on Linux, it is highly customizable and can work as you need it to. Android devices come in all shapes and sizes as it is very lightweight and can run on old hardware models too.
The marketplace for Android is also vast, though competent. Surely, your app may have a base userbase of >1k users within weeks of publishing the app, without even marketing. And I have tested it and that’s true!
Now that you are motivated enough to know more about development in Android, we will go through the tools required to start with Android!
Tools needed for Android Dev
Android apps can be developed on any system running Windows, Linux, or Mac. The process is pretty much the same in each case.
Next, what you need is Android Studio, the official IDE supported by Google for android app development. It is based on IntelliJ IDEA IDE for Java by JetBrains, so it looks and works pretty much the same. People who have used any of Jetbrains IDE will not have issues understanding Android Studio!
You can install Android Studio from the official Android Studio site. This step will not be very difficult.
Though Android Studio is pre-bundled with a JRE, so you may not need to install any additional kit for Java, though, if you wish, you can install your needed JDK here.
Android Studio installation is a bit heavy and may need some time to complete. Be patient!
After installing and doing all the necessary setups, and opening Android Studio, you will be able to see such a screen:
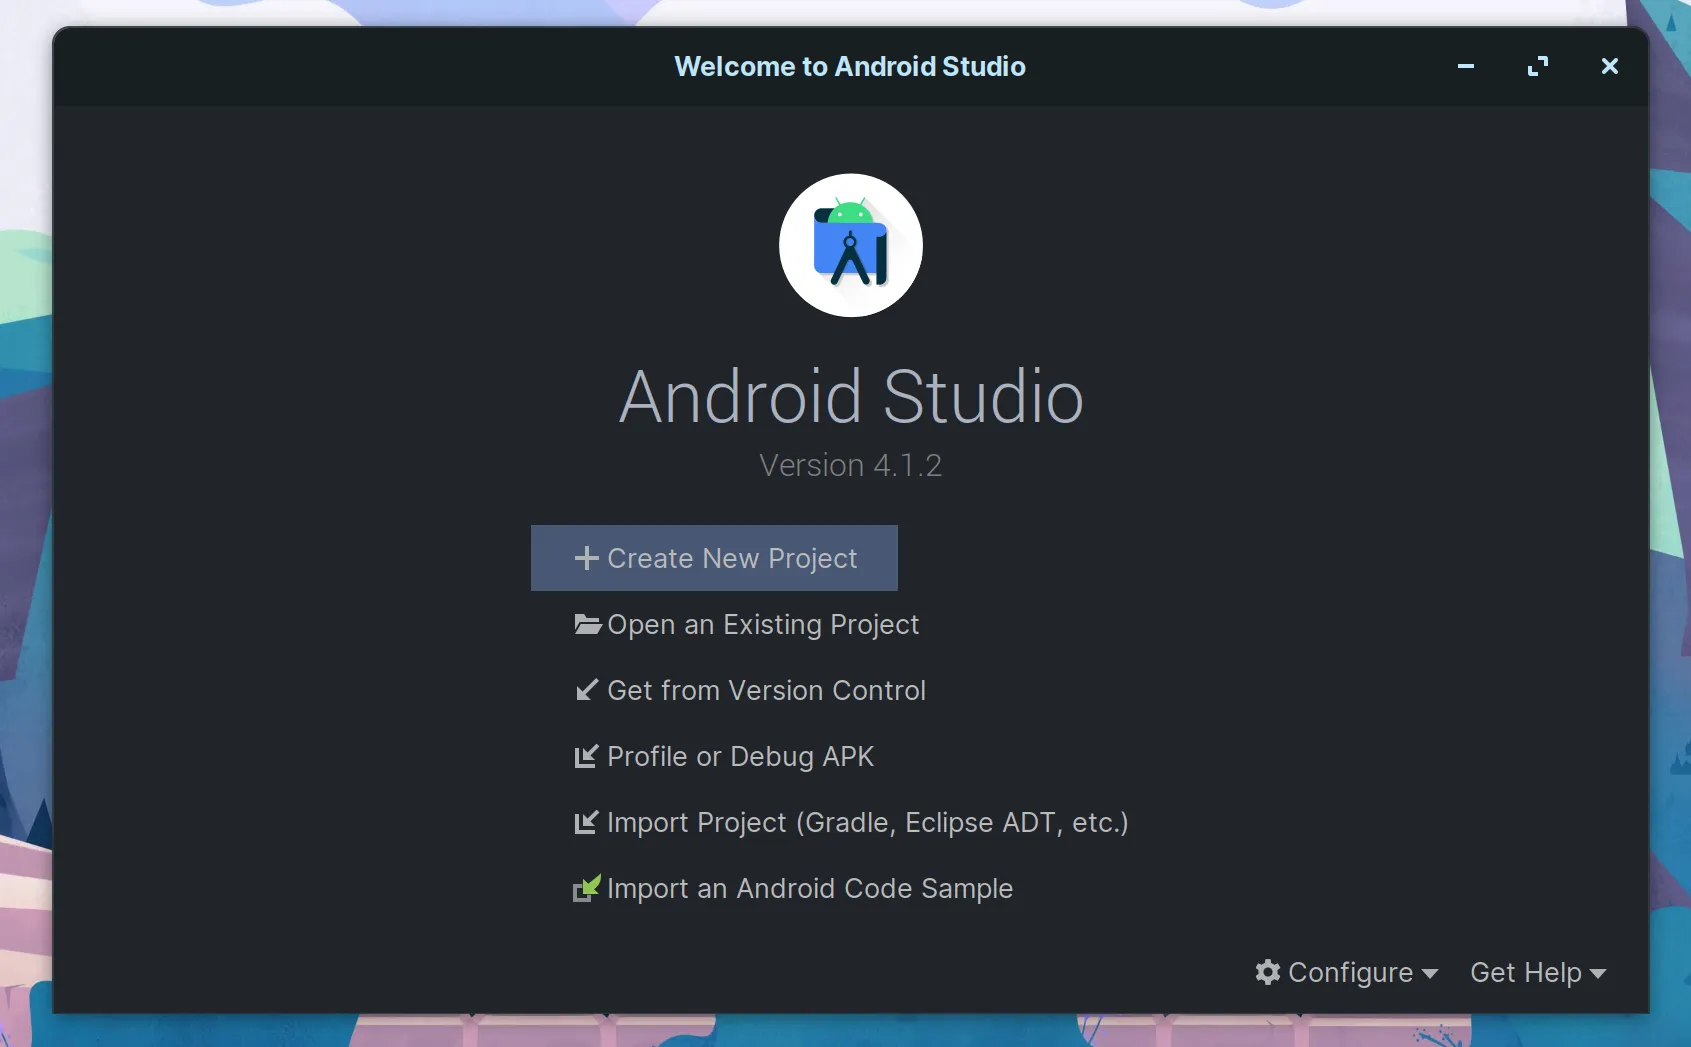
The picture may not be the exact same as your version of Android Studio, also I have a theme installed which may not be similar to yours!
You can now proceed to install the required SDKs (Software Development Kits) for building your apps. On the main screen of Android Studio, click Configure -> SDK Manager.
It is recommended to install the latest possible version at the moment you are setting it up. Check the box next to the SDK name and then click apply, Android Studio will start setting up the things for you!
Emulators- Yes or No?
Now, at this point in time, you may have the android studio and all other stuff set up.
But you may be thinking of how will you test your app while you code. For that, there are two options left now, either you can go with your own real android device, and emulators. Emulators are the copy of real android devices that can run on your system.
They are pretty much like a virtual setup of a device. Though they may not give the same actual experience that you may get on testing your app on a real device, they may give valuable insights on how your app will perform on different SDK versions.
But, an important aspect to notice is that the emulators take up ram and space on your phone to run their set up and that won’t be good enough if your system has low specs.
Make sure that if you have at least >16 GB ram, then only you should go for having android emulators to run on your system, as they make the system heavy and cause lags if they don’t get enough resources.
Emulators require your system to support virtualization.
If you wish to run and test apps on a real android device, then you can follow the official guide to get things done.
I won’t be going to all the further details in this post itself, this post was just to get you started with Android Studio and installing the right stuff for android app development. Hope to see you in the next post!
Further reading materials:
If you have any doubts or queries, you may write down in the comments below! Thank you for reading :)
