

Yes, dear reader, you read that right! You can build beautiful CLIs with React using an awesome library called React Ink!
The way this library works is best summed up by the README of the repo:
Ink provides the same component-based UI building experience that React offers in the browser, but for command-line apps. It uses Yoga to build Flexbox layouts in the terminal, so most CSS-like props are available in Ink as well. If you are already familiar with React, you already know Ink. Since Ink is a React renderer, it means that all features of React are supported. Head over to React website for documentation on how to use it. Only Ink’s methods will be documented in this readme.
What we’ll build 🗓️
In this post, we’ll explore how Ink works by building a cool little CLI, that fetches info about pokemon using PokeAPI!
Creating an Ink project 🪜
This is extremely simple and straight-forward.
- First you will create an empty directory
mkdir pokecli && cd pokecli
- Then you can run the
create-ink-appcommand
npx create-ink-app --typescript
In this post, I will use TypeScript, but you can follow along with plain JS too.
If we take a look at what this command has generated, we can see a very basic file structure:
pokecli
	source/
	.editorconfig
	.gitattributes
	package-lock.json
	package.json
	readme.md
	tsconfig.json
We can ignore everything other than the source folder.
source/ui.tsx
import React, { FC } from "react";
import { Text } from "ink";
const App: FC<{ name?: string }> = ({ name = "Stranger" }) => (
  <Text>
    Hello, <Text color="green">{name}</Text>
  </Text>
);
module.exports = App;
export default App;
This is a normal App component like you would see in plain React. A prop name is passed on to this component which is set to a default value of Stranger. And a message of “Hello, {name}” is rendered. Note that the Text component comes from ink.
It can be used to style many aspects of the text, like the color, background color etc. ink uses a library called chalk to do this.
source/cli.tsx
#!/usr/bin/env node
import React from "react";
import { render } from "ink";
import meow from "meow";
import App from "./ui";
const cli = meow(
  `
	Usage
	  $ pokecli
	Options
		--name  Your name
	Examples
	  $ pokecli --name=Jane
	  Hello, Jane
`,
  {
    flags: {
      name: {
        type: "string",
      },
    },
  }
);
render(<App name={cli.flags.name} />);
This file is the entry point of the CLI application. The meow function displays the text that will appear in the --help flag. And then it pulls the render function from ink to display the exported App component from ui.tsx. name is a command-line argument which can be set by the user like this:
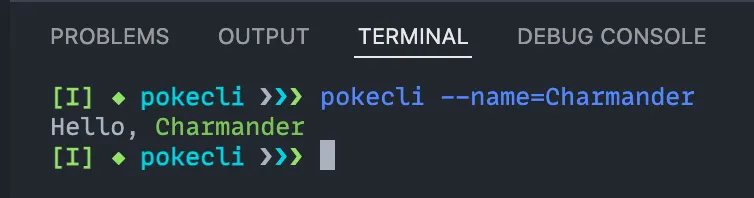
pokecli --name=Charmander
We can see that this arg has an explicit type of string. Since, we now have a basic understanding of how Ink works, let’s get on to creating our CLI!
Running the CLI 🏃
We can run this code by first compiling our source code into an executable
npm run build
And then running the executable:
pokecli --name=Charmander
And we’ll be able to see our output!
You can also run pokecli with the --help flag to see the output of what’s passed to the meow function in cli.tsx
Building our CLI 🛠️
Let’s first make a simple function to fetch the data of a pokemon through it’s name, in ui.tsx.
We will do this using a library called axios.
npm i axios
We can then use this function to send a request to PokeAPI.
// fetch pokemon data with its name using pokeapi
const pokemon = (name: string): void => {
  axios
    .get(`https://pokeapi.co/api/v2/pokemon/${name.toLowerCase()}`)
    .then((res) => {
      console.log(res.data);
    });
};
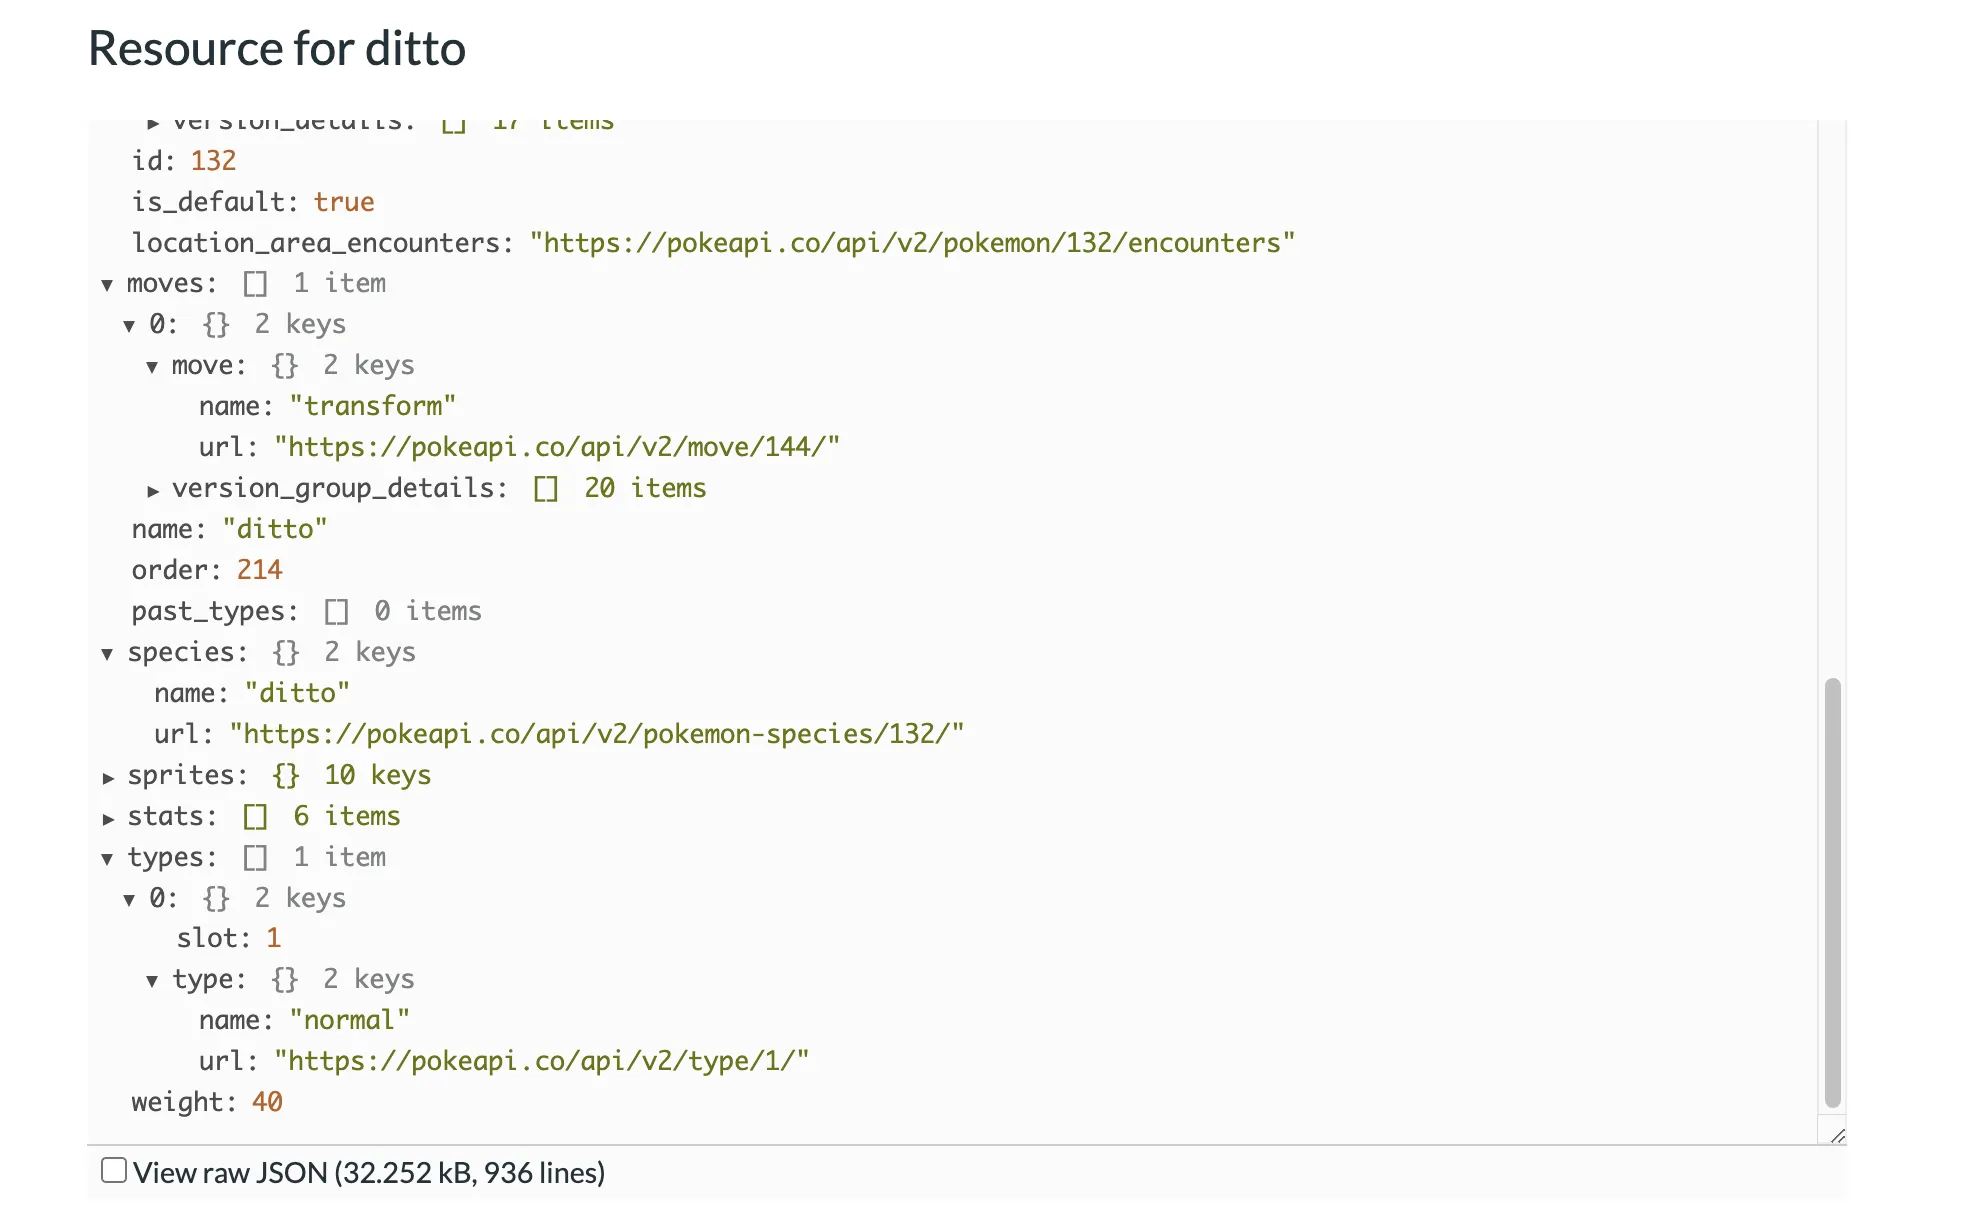
And if you test this out, we’ll be able to see the data associated with what is passed in the CLI name flag.
The problem with this is that, TypeScript doesn’t know the properties that exist in this data object. So let’s declare interfaces for the API response.
interface Type {
  slot: number;
  type: {
    name: string;
  };
}
interface Stat {
  base_stat: number;
  effort: number;
  stat: {
    name: string;
  };
}
interface PokemonData {
  name: string;
  height: number;
  weight: number;
  types: Type[];
  stats: Stat[];
}
Ref:
Let’s also create a state variable to store our pokemon data:
const [pokemonData, setPokemonData] = React.useState<PokemonData | null>(null);
Now, we can update our function to fetch the pokemon data accordingly:
// fetch pokemon data with its name using pokeapi
const pokemon = (name: string): Promise<PokemonData> => {
  const url = `https://pokeapi.co/api/v2/pokemon/${name}`;
  return axios
    .get<PokemonData>(url)
    .then((response: AxiosResponse<PokemonData>) => {
      return response.data;
    });
};
Cool!
Now let’s call this function in a useEffect hook:
// call useEffect and use store the pokemon data in state
useEffect(() => {
  pokemon(name).then((data: PokemonData) => {
    setPokemonData(data);
  });
}, [name]);
Awesome!
Now all we have to do, is just render the data. Since our state will be null if the pokemon data is not yet set, we can use that as a loading indicator.
return (
  (pokemonData &&
    {
      /* pokemon stuff */
    }) || <Text>Loading...</Text>
);
And then we can display the pokemon data:
return (
  (pokemonData && (
    <Box>
      <Text>
        <Text bold color="blue">
          {pokemonData?.name[0]?.toUpperCase() + pokemonData!.name?.slice(1)}
        </Text>
        {"\n"}
        {/* Display a divider */}
        <Text color="magentaBright">
          {Array(pokemonData?.name.length + 1).join("-")}
        </Text>
        {"\n"}
        <Text color="yellowBright">Metrics:</Text> <Text
          color="greenBright"
          bold
        >
          {/* Height is in decimeters */}
          {pokemonData!.height / 10}m, {pokemonData!.weight / 10}kg
        </Text>
        {"\n"}
        <Text color="yellowBright">Type:</Text> <Text color="greenBright" bold>
          {/* Display the pokemon's types */}
          {pokemonData?.types.map((type: Type) => type.type.name).join(", ")}
        </Text>
        {"\n\n"}
        {/* Display the pokemon's stats */}
        <Text color="yellowBright" bold>
          Stats{"\n"}
        </Text>
        <Text color="greenBright">{pokemonData?.stats.map((stat: Stat) => `${stat.stat.name}: ${stat.base_stat}`).join("\n")}</Text>
      </Text>
    </Box>
  )) || <Text>Loading...</Text>
);
Now you should be able to see this:
We can clear the terminal screen before the data is shown. There is an NPM library called clear which we can use to achieve this.
npm i clear
Since it is written in JS, we’ll need the type definitions for it too.
npm i -D @types/clear
Now, we can call the clear function above our JSX.
	clear();
	return (
		(pokemonData && (
			<Box>
				<Text>
					<Text bold color="blue">
          ...
Cool!
You can also change the help text:
cli.tsx
const cli = meow(
  `
	Usage
	  $ pokecli
	Options
		--name The name of the pokemon
	Examples
	  $ pokecli --name=charmander
		Charmander
		----------
		Metrics: 0.6m, 8.5 kg
		Type: fire
		Stats
		hp: 39
		attack: 52
		defense: 43
		special-attack: 60
		special-defense: 50
		speed: 65
`,
  {
    flags: {
      name: {
        type: "string",
      },
    },
  }
);
📤 Final Output
After following with me, you should be able to see this!

You can find the source code for the repo here.
Isn’t it cool how all the hooks and other React features work in a CLI? React sure is taking over the world 😉
I’ll see you in the next post! 👋


